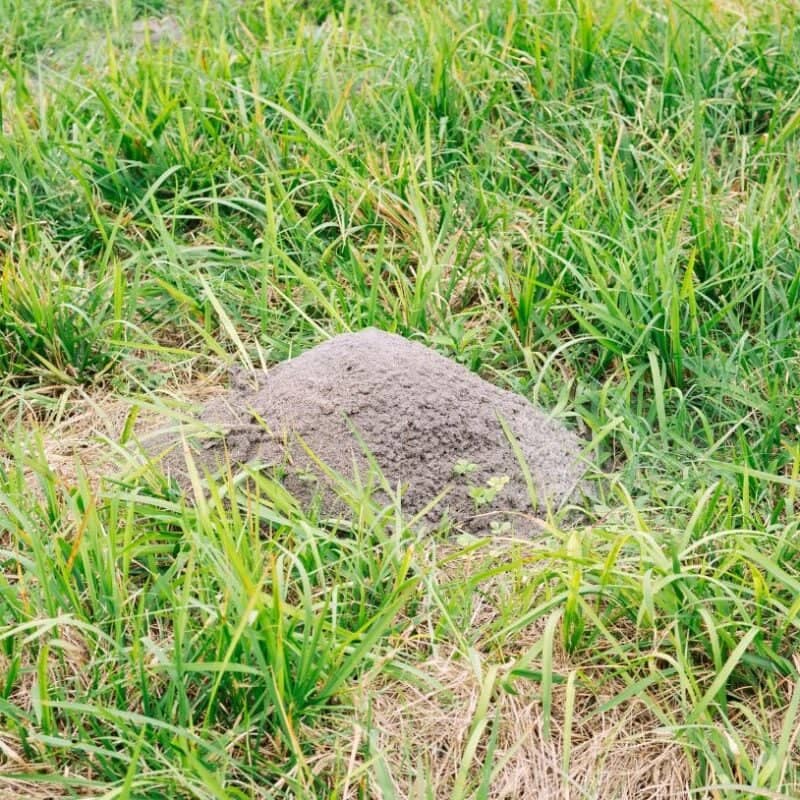
Identifying and Eliminating Fire Ant Mounds in Your Florida Yard
If you’ve lived in Florida long enough, you’ve no doubt had at least one run-in with fire ants. Unlike most…
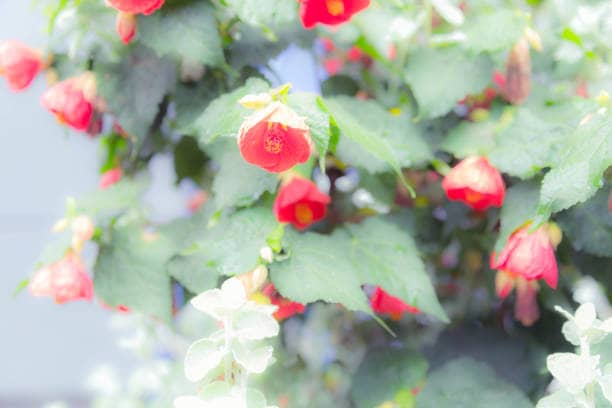
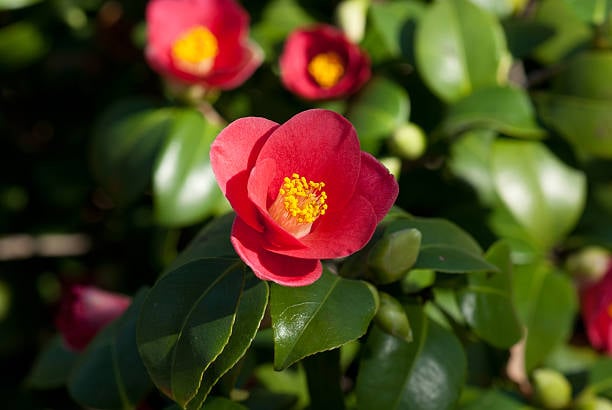
Camellias are beloved Southern shrubs that brighten up gardens with beautiful blooms from fall through spring. In Florida, with our unique climate and soil conditions, properly fertilizing camellias is key to keeping them healthy, vibrant, and producing abundant flowers year after year. As your trusted local agricultural experts, we at Council Oxford are here to share our tips on when and how to best fertilize camellias in your Florida landscape.
Before we dive into fertilizing, it’s essential to choose camellia varieties well-suited to Florida’s climate. Some top performers we recommend include:
These cultivars tolerate Florida’s heat and humidity better than others, making them excellent choices for local gardens. They also offer a range of bloom colors (white, pink, red, lavender), sizes (single, semi-double, formal double, peony, and anemone forms), and bloom times to suit various landscape designs and personal preferences.
When selecting camellias for your Florida landscape, consider the mature size and growth habit of each cultivar to ensure they fit their intended space. Also, think about when you’d like to see blooms – sasanquas tend to flower earlier (fall into winter), while japonicas and hybrids typically bloom later (winter into spring).

While camellias are generally well-adapted to Florida, they can face some challenges in our climate:
High temperatures, especially above 95°F, can cause leaf scorching, bud drop, and reduced growth, particularly if camellias are planted in full sun or in areas with poor air circulation.
Excess moisture from high humidity, poor drainage, or overwatering can lead to fungal diseases like petal blight (turns blooms brown and mushy), root rot (causes wilting and yellowing), and leaf gall (distorts leaves).
Many areas in Florida have limestone-based soils with high pH (above 6.5), which camellias dislike. This can cause nutrient deficiencies that manifest as yellowing between leaf veins (chlorosis).
Tea scale (white cottony masses on leaves/stems), spider mites (yellow stippling or bronzing of leaves), and aphids (honeydew residue and sooty mold) can sometimes infest camellias, especially if plants are stressed.
Choosing suitable varieties, planting in partial shade, ensuring well-drained soil, allowing good air circulation, and maintaining proper watering and care can help mitigate these issues. If problems arise, contact us at Council Oxford for targeted solutions like pH adjustment, fungicides, horticultural oils, or insecticidal soaps.
In Florida, we at Council Oxford recommend fertilizing camellias in spring, after the danger of frost has passed but before the intense summer heat sets in. Typically, this means fertilizing:
A second, lighter application can be done in early fall (September-October) if needed, especially if plants show signs of nutrient deficiency or have experienced stressful conditions. However, we advise avoiding fertilizing any later than October, as this can stimulate tender new growth vulnerable to winter cold damage.
Timing fertilization correctly is crucial because:
If you’re unsure about the best time to fertilize based on your location and microclimate, feel free to contact us at Council Oxford for personalized guidance.
When it’s time to fertilize, we recommend following these steps:
1. Select a fertilizer formulated for acid-loving plants, with a balanced NPK ratio like 8-8-8, 10-10-10, or a specially formulated camellia/azalea blend. Avoid high-nitrogen mixes that can lead to leafy growth instead of blooms.
2. If soil pH is too high, consider using an acidifying fertilizer that contains sulfur or iron to gently lower pH over time. At Council Oxford, we can help you test your soil periodically to monitor pH changes.
3. Apply fertilizer according to package directions, typically using 1-2 pounds per 100 square feet of planting area. For mature plants, you may need up to 4 pounds per plant, spread out under the entire canopy.
4. Spread the fertilizer evenly around the plant, starting about 6 inches from the trunk and extending a foot or two beyond the drip line (edge of foliage). Avoid concentrating fertilizer near the trunk to prevent damage.
5. Lightly scratch the fertilizer into the top inch of soil or mulch, using a hand cultivator or rake, taking care not to damage shallow feeder roots. This helps fertilizer reach roots while reducing runoff.
6. Water thoroughly after application to help dissolve and distribute nutrients into the soil. Aim to moisten the entire root zone. Avoid overhead irrigation to minimize wet foliage that can encourage disease.
For established camellias, our experts often recommend a slow-release fertilizer applied once or twice per year to provide a steady nutrient supply over several months. For young, newly planted, or recovering camellias, we suggest smaller monthly applications (half-strength) during the growing season to avoid burning roots.
If camellias show signs of nutrient deficiency (small, pale, or yellowing leaves; stunted growth; poor flowering), an additional application of fertilizer or a foliar spray with micronutrients may be warranted. Contact us at Council Oxford for help diagnosing and correcting nutrient issues.
In addition to proper fertilization, our experts at Council Oxford recommend the following for healthy Florida camellias:
1. Slightly acidic soil (pH 5.0-6.5). If a soil test reveals pH is too high, we can guide you in gradually adjusting it by applying elemental sulfur, iron sulfate, or acidic organic matter like peat moss or pine bark. Avoid quick, drastic changes that can shock roots.
2. Well-drained soil rich in organic matter. We suggest planting camellias slightly above grade (1-2 inches) in raised beds or amending heavy soils with aged compost, peat, or perlite to improve drainage and aeration. Avoid planting in low spots where water collects.
3. Ample moisture, especially during establishment and hot, dry periods. Water deeply and regularly (1-2 inches per week), aiming for consistent soil moisture but not waterlogging. Our team recommends using drip irrigation or a soaker hose to keep foliage dry. Mulch to conserve moisture.
4. Protection from harsh afternoon sun and drying winds. We advise planting camellias where they’ll receive 4-6 hours of filtered morning sun and afternoon shade, such as under tall pines or along an east-facing wall. Avoid unprotected western exposures.
5. A 2-3 inch layer of organic mulch maintained year-round to retain soil moisture, regulate root temperature, suppress weeds, and replenish organic matter as it breaks down. Pine straw, pine bark, compost, or shredded leaves work well.
6. Proper pruning, if needed, immediately after blooming finishes in spring. Remove crossing, damaged, dead, or diseased branches back to healthy wood. Thin interior growth to allow light and air circulation. Shape lightly as desired, but avoid formal shearing.
7. Regular monitoring for pests and prompt treatment if infestations occur. Check undersides of leaves for insects, stippling, or honeydew. Use horticultural oils, insecticidal soaps, or neem oil for control, following label instructions. Keep plants healthy to prevent pest problems.
8. Periodic grooming to remove spent flowers and dead leaves caught in branches. This keeps plants tidy and limits disease spread. Disinfect tools between cuts if disease is suspected.
By following these expert tips, choosing suitable varieties for your landscape, fertilizing at the appropriate times and rates, and providing camellias with the growing conditions they prefer, you’ll be rewarded with years of healthy growth and stunning blooms that showcase why camellias are enduring Southern favorites.
Remember, as your local horticultural experts, we at Council Oxford are always here to help you troubleshoot challenges, select the right products, and optimize care for your Florida camellias and all your landscape plants. Don’t hesitate to reach out to our team anytime for personalized advice and solutions. Together, we can keep your garden thriving!


If you’ve lived in Florida long enough, you’ve no doubt had at least one run-in with fire ants. Unlike most…
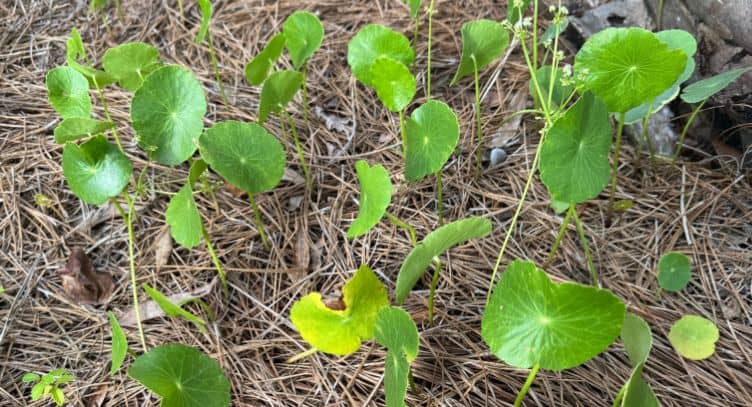
Dollarweed is one of the most common and frustrating weeds Florida homeowners face—especially in St. Augustine grass. Learn how to…
St. Augustine grass is one of the most popular grasses among Florida homeowners. Its lush carpet-like feel and adaptation to…